Summary: This guide explains how to download macOS Sierra 10.12 as a DMG or ISO file on both Mac and Windows systems. It also covers bootable image downloads and USB installer creation using iBoysoft DiskGeeker.
This article is written in British English and intended for readers in the UK.
macOS Sierra was officially released in September 2016 and represented an important milestone for Apple's desktop operating system. With this release, Apple transitioned from the long-standing OS X naming convention to macOS, aligning the Mac platform with iOS, watchOS, and tvOS.
The update also introduced several notable features, such as Siri integration on Mac, Universal Clipboard for copying and pasting across Apple devices, Optimised Storage via iCloud Drive, and additional system improvements.
Despite being an older macOS version, macOS 10.12 may still be required in certain situations. Users may need it for application compatibility, unsupported newer macOS versions on older hardware, virtual machine usage, or personal preference.
Before running macOS Sierra, you must download the complete installer, whether in DMG (macOS Sierra DMG) or ISO format (macOS Sierra ISO). It is also important to understand the correct installation process to avoid errors.
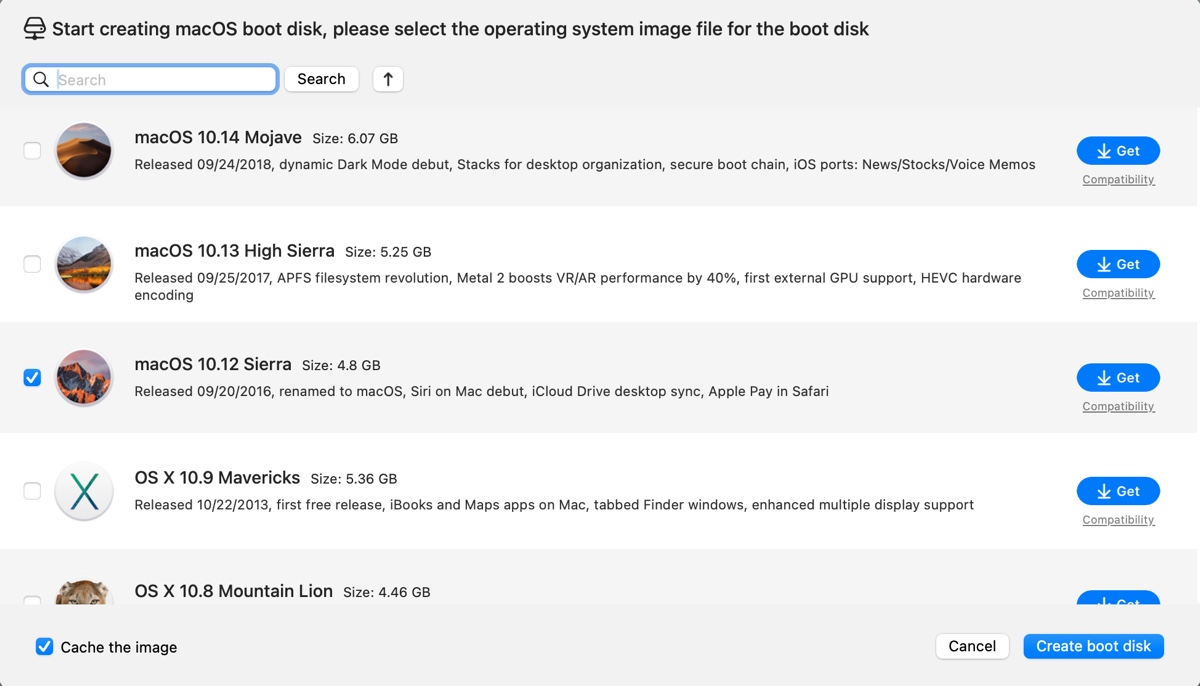
Tips: To download macOS Sierra, iBoysoft DiskGeeker is recommended. It enables users to download the bootable macOS Sierra DMG file and create bootable USB installers with minimal effort.
Steps to download macOS Sierra:
Step 1: Download, install, and open iBoysoft DiskGeeker.
Step 2: Select Download Image from the lower-left corner.

Step 3: Choose macOS 10.12 Sierra and click Get.

To access other macOS installers, refer to: Free Download Latest macOS, OS X, & Mac OS X Installers
If you need to install macOS Sierra on Windows, download the installer directly on a Windows system.
Download macOS Sierra 10.12 DMG full installer [Direct link]
There are two primary methods to obtain the macOS Sierra DMG file: directly from Apple's servers or via a trusted third-party archive.
① Download from Apple's server
Apple hosts the macOS Sierra disk image on its own servers rather than offering it through the Mac App Store. However, downloads are restricted to compatible Mac models.
For best results, open the download link in Safari, as other browsers may fail to initiate the download correctly.
② Download from archive.org
Users with incompatible Macs or Windows PCs can download macOS Sierra from archive.org. The platform supports downloads on Windows 7/8/10/11 as well as macOS systems.
Share the links to get the macOS 10.12 DMG download with others!
Download macOS Sierra 10.12 ISO Full Installer [Direct Link]
To run macOS Sierra in a virtual environment such as VirtualBox or VMware, the ISO version of the installer is required. Use the provided link to download the macOS 10.12 ISO file.
Download macOS Sierra 10.12 ISO for VirtualBox/VMware
A macOS Sierra VMDK file is also available for users installing macOS Sierra within a virtual machine.
How to Create a Bootable USB Installer with macOS Sierra DMG?
Creating a bootable USB installer is often necessary for clean installations, macOS upgrades or downgrades, and virtual machine setups.
Use iBoysoft DiskGeeker to Create Boot Media
Instead of manually preparing bootable media, iBoysoft DiskGeeker offers a streamlined process.
Step 1: Install and launch iBoysoft DiskGeeker.
Step 2: Click Create boot disk from the sidebar.
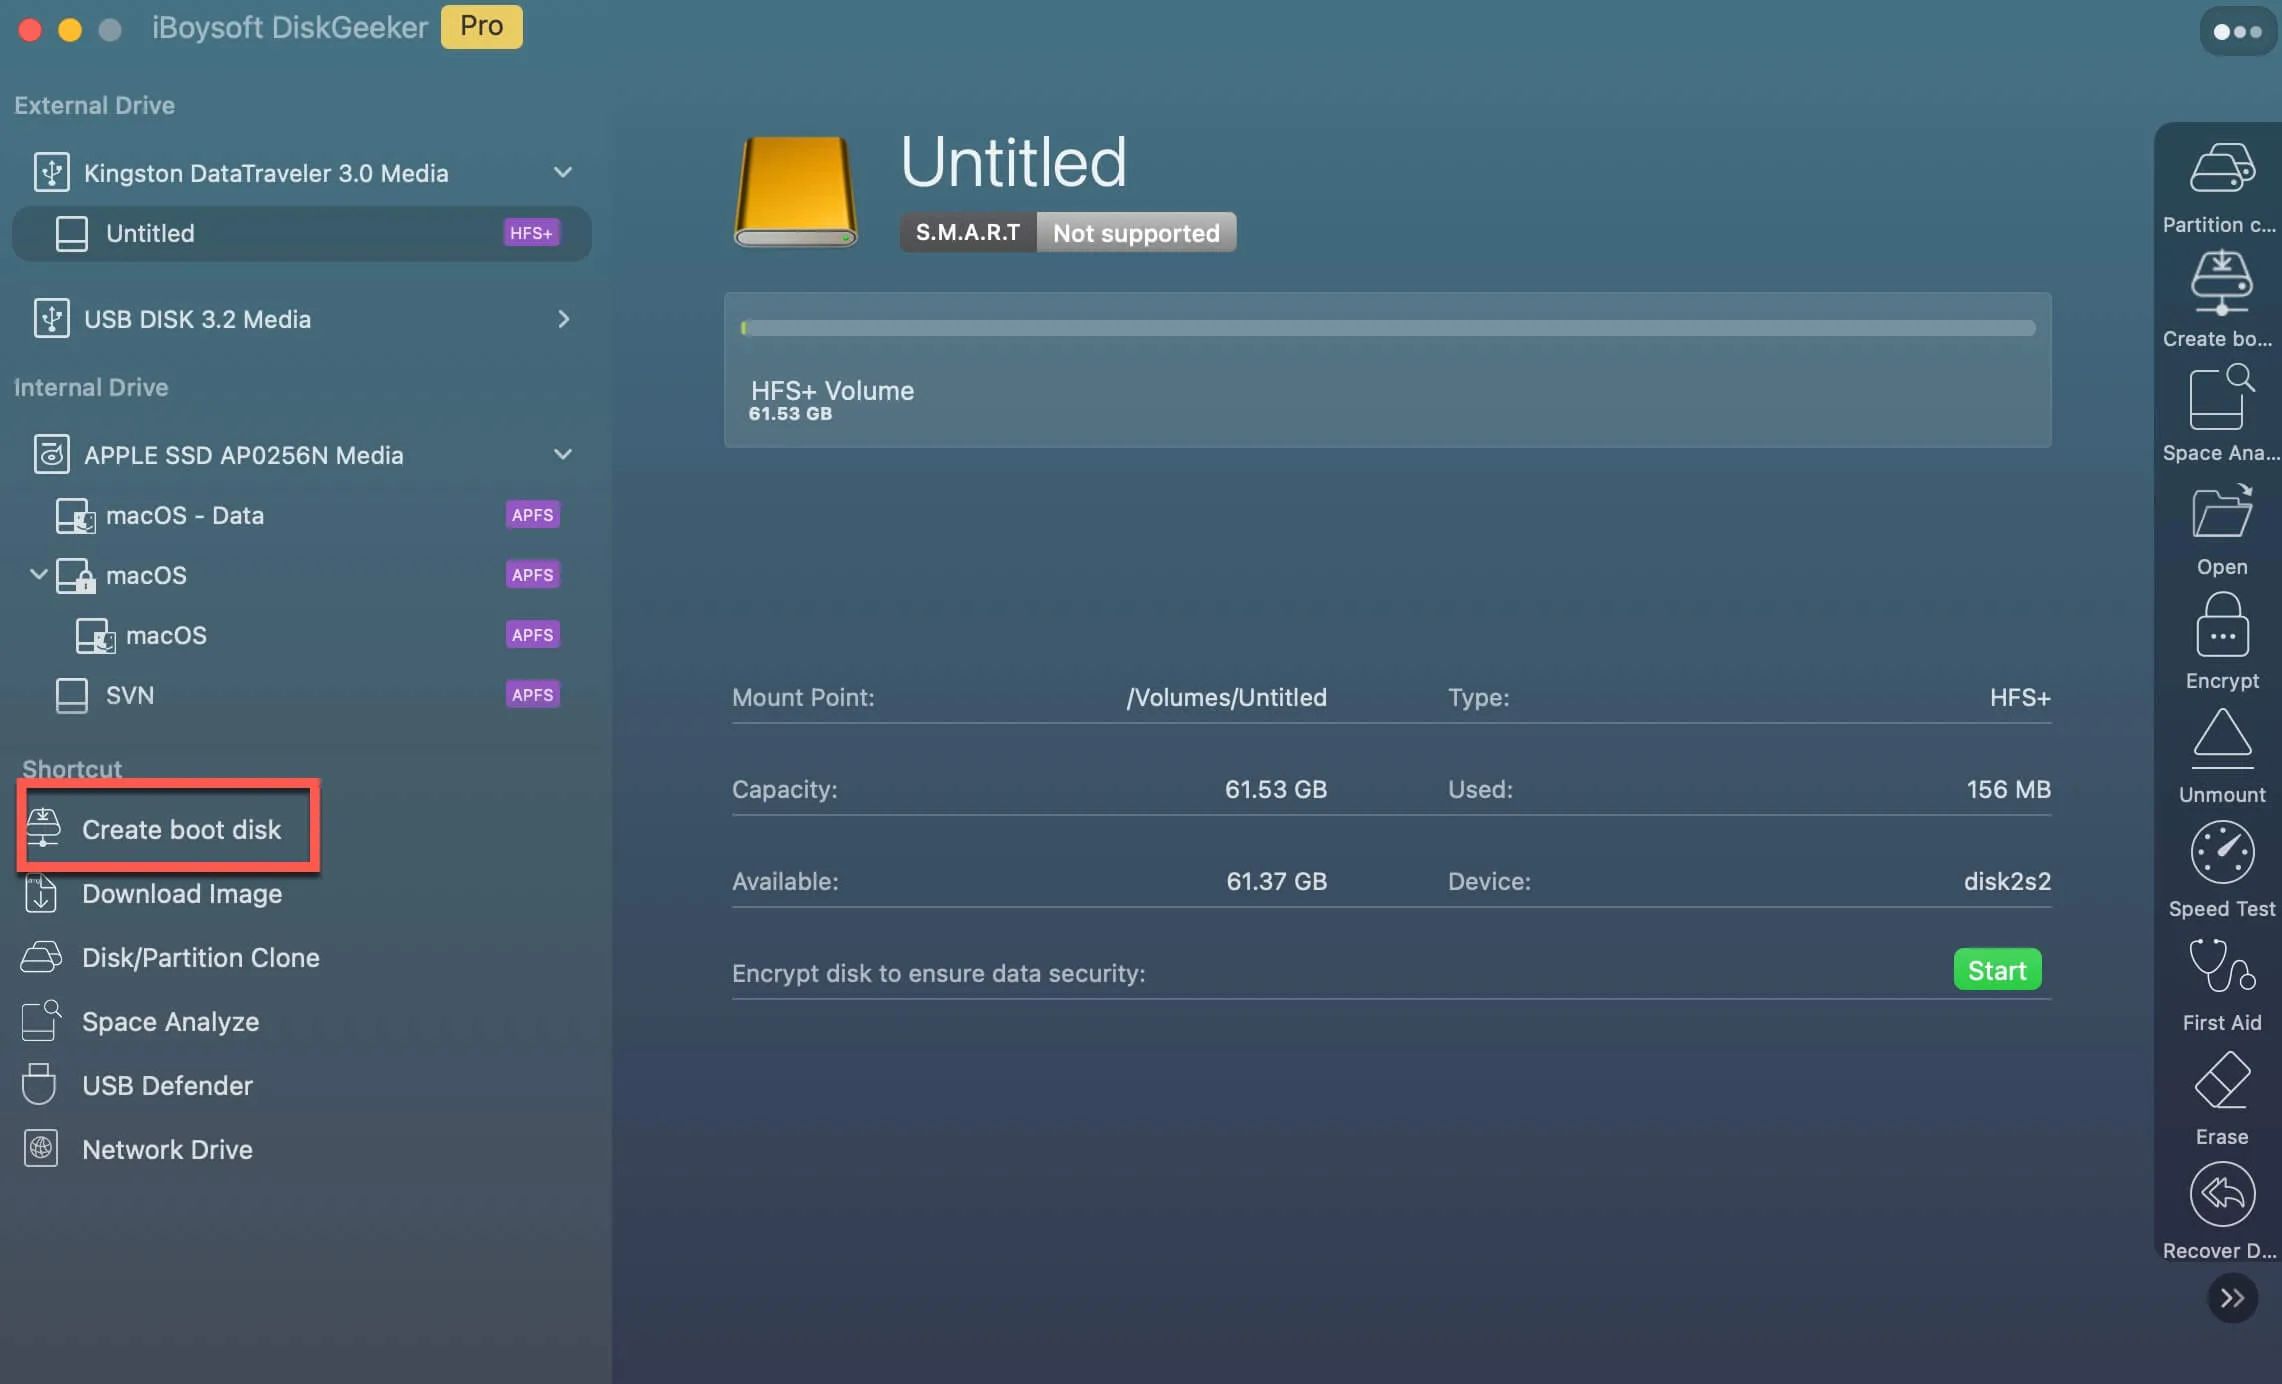
Step 3: Select the external drive and continue.
Step 4: Choose macOS 10.12 Sierra and click Create boot disk.
If you are using a Windows PC, refer to this guide: How to Create a macOS Bootable USB from Windows 10/11?
Manual Method on Compatible Macs
If you prefer not to use third-party utilities, macOS provides a built-in command-line tool that allows you to create a bootable installer manually. This method requires a compatible Mac running macOS Sierra, macOS High Sierra, or OS X El Capitan, along with the official macOS Sierra installer.
Step 1: Place the macOS Sierra Installer in the Applications Folder
The macOS command used to create a bootable installer only works if the installer application is located in the correct directory.
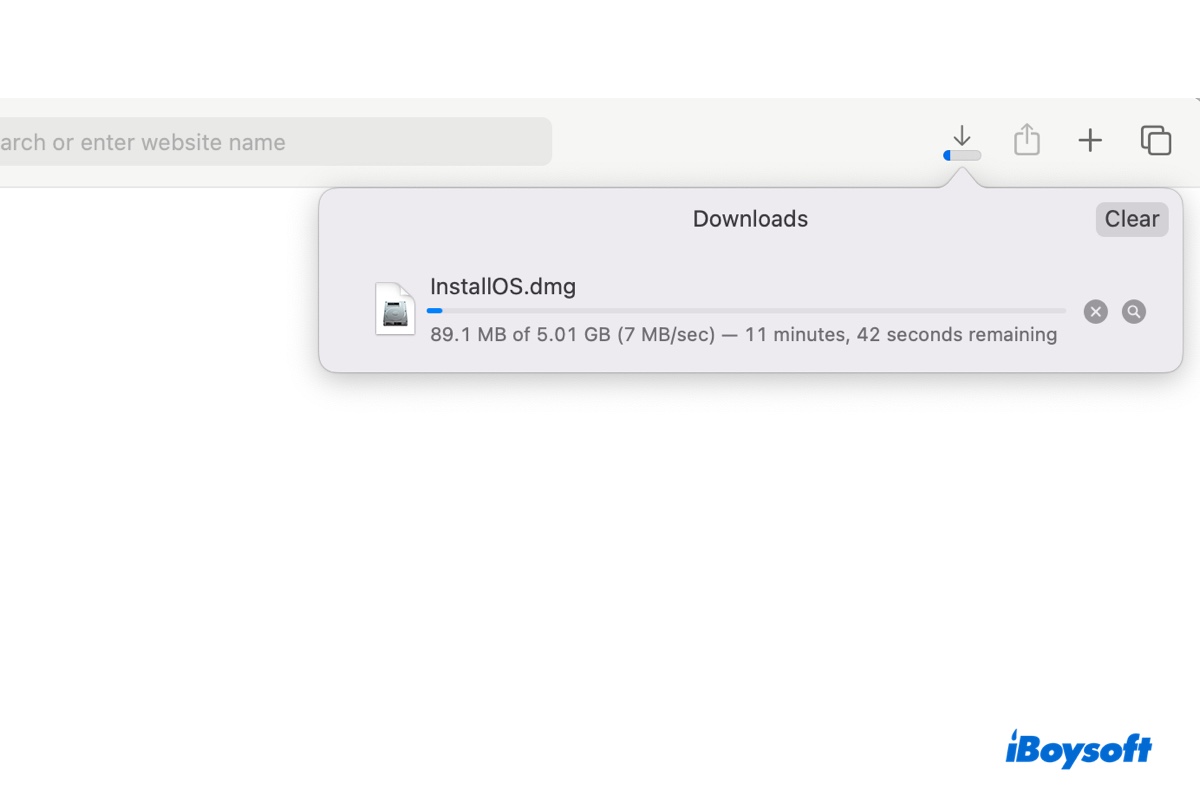
- Double-click InstallOS.dmg to mount the disk image.
-
Inside the mounted image, double-click InstallOS.pkg.
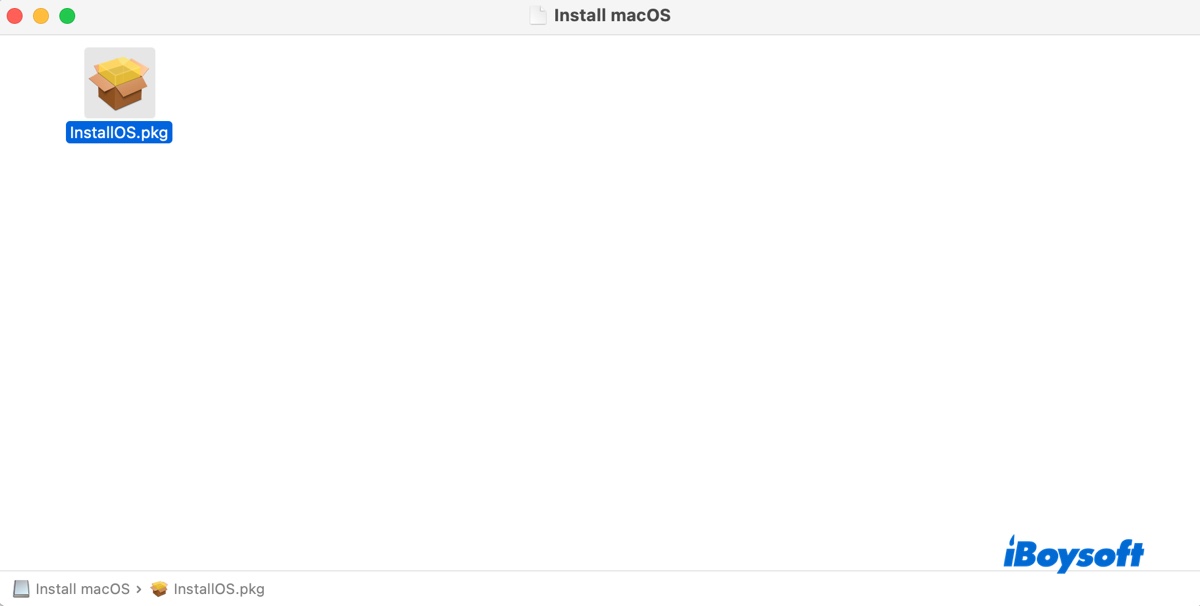
- Follow the on-screen instructions to install the macOS Sierra installer.
Once completed successfully, you should see Install macOS Sierra.app inside the Applications folder.
If the Mac is not compatible with macOS Sierra, the installer will stop and display an error message stating that the software cannot be installed on the current computer. In that case, you will not be able to proceed using this manual method.
Step 2: Format the USB Drive Correctly
The USB drive must be formatted using the correct file system and partition scheme for macOS to recognise it as bootable.
- Connect the USB drive to your Mac.
- Open Disk Utility.
- Select View > Show All Devices to display the full device hierarchy.
- Choose the top-level entry of the USB drive (not just the volume).
- Click Erase.
Use the following settings:
- Name: MyVolume
- Format: Mac OS Extended (Journaled)
- Scheme: GUID Partition Map
- Click Erase and wait for the process to complete.
- Once finished, close Disk Utility.
Step 3: Create the Bootable Installer Using Terminal
macOS includes a tool called createinstallmedia, which is used to write the installer to the USB drive.
- Open Terminal from Applications > Utilities.
- Enter one of the following commands and press Enter:sudo /Applications/Install\ macOS\ Sierra.app/Contents/Resources/createinstallmedia --volume /Volumes/MyVolume --applicationpath /Applications/Install\ macOS\ Sierra.appIf the above command does not work, try this alternative:sudo /Applications/Install\ macOS\ Sierra.app/Contents/Resources/createinstallmedia --volume /Volumes/MyVolume
-
When prompted, type your administrator password and press Enter.
(The password will not appear on the screen as you type.) - If asked to confirm erasing the disk, type Y and press Enter.
- Grant Terminal permission to access removable volumes if prompted.
The process may take several minutes. Terminal will display progress messages until it confirms that the installer media has been created.
Step 4: Boot a Mac Using the macOS Sierra USB Installer
Once the bootable USB is ready, you can use it to install macOS Sierra.
- Insert the USB installer into the Mac you want to start.
- Power on the Mac and immediately press and hold the Option (⌥) key.
- Keep holding the key until the boot selection screen appears.
- Choose the macOS Sierra installer volume and click the arrow to continue.
- After the Mac loads the installer environment, the macOS Utilities window will appear. From there, select Install macOS Sierra and follow the on-screen instructions.
Share this guide if you find it helpful!
Not Enough Space to Download macOS Sierra?
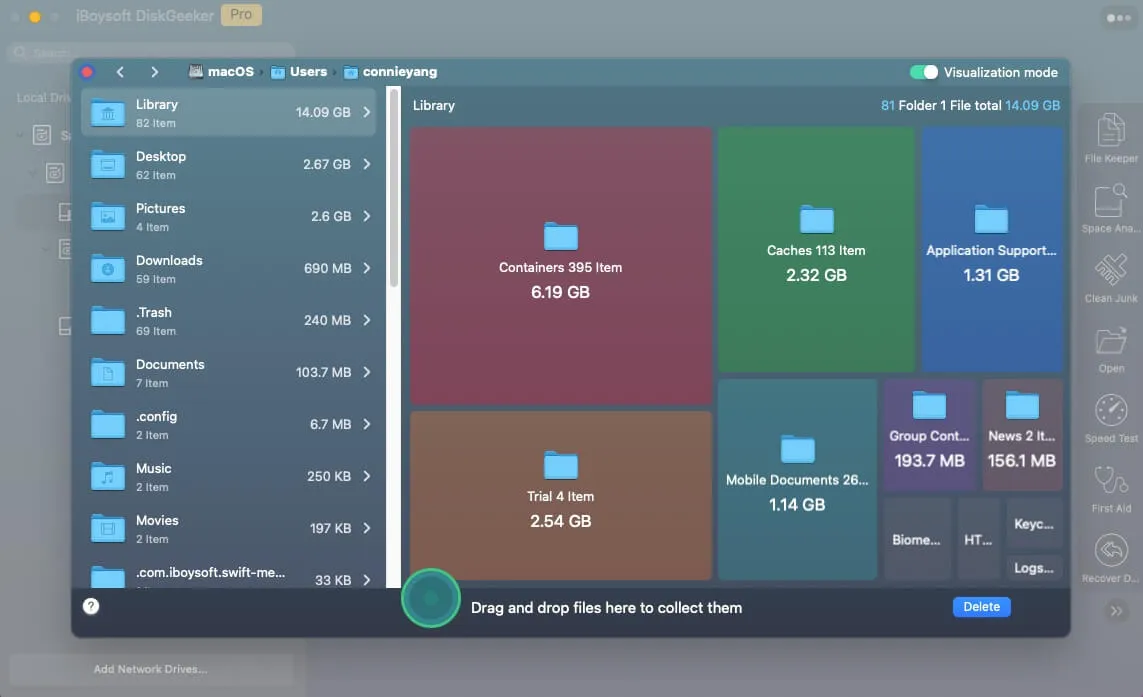
Downloading macOS installers requires sufficient storage space. Removing large or unnecessary files beforehand helps prevent download failures.
iBoysoft DiskGeeker can analyse disk usage and display files by size, making it easier to identify and remove unwanted data. Its Clean Junk feature can also clear caches, logs, and other temporary files.
Share this guide to help others download macOS Sierra DMG and ISO files.
FAQs about macOS 10.12 download
- QIs macOS 10.12 still supported?
-
A
Apple ended official support for macOS 10.12 on 30 November 2019. The final release is macOS 10.12.6.
- QHow can I update my Mac to 10.12.6?
-
A
You can update via System Preferences > Software Update, or download and run the macOS 10.12.6 installer manually.